A Painting as a Light Switch Featuring a Govee Light Curtain, a Raspberry Pi and an Adafruit Capacitive Touch Hat JavaScript Raspberry Pi Sensors AI Coding GitHub
Smart(er) Cat Feeder A cat feeder for one cat but not the other. With AI JavaScript Python TensorFlow Raspberry Pi AI / ML GitHub
The Bogstras: The Video Game A cool Flash game starring my family! Flash / ActionScript Game Dev Pixel Art View Live
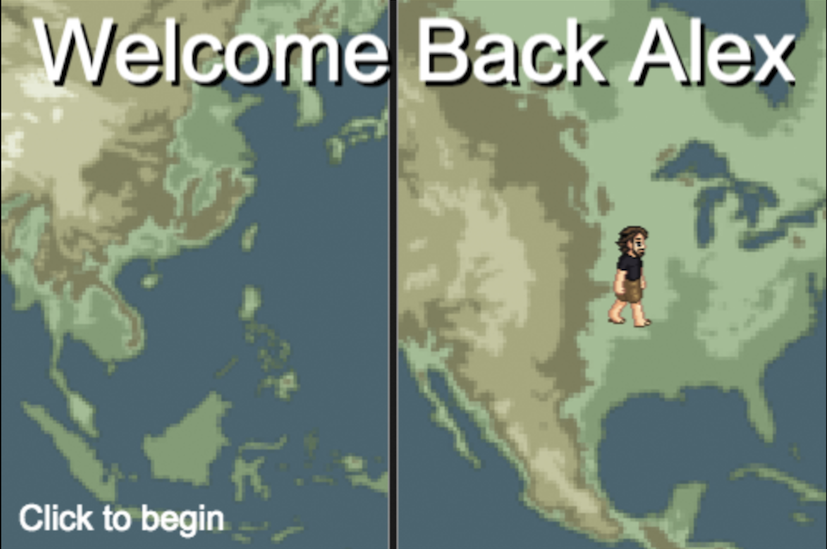
Welcome Back Alex A Phaser JS game to welcome back Alex. Javascript Phaser JS Game Dev View Live GitHub
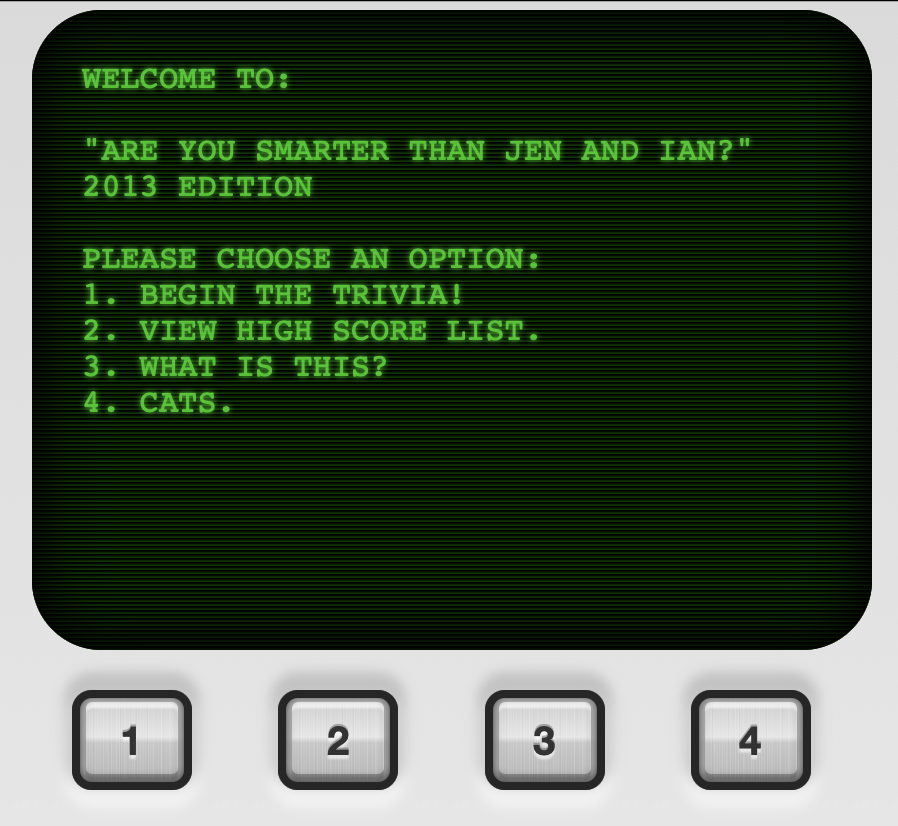
Are You Smarter Than Jen and Ian? A quiz game for Jen and Ian's wedding. Javascript jQuery Game Dev View Live GitHub
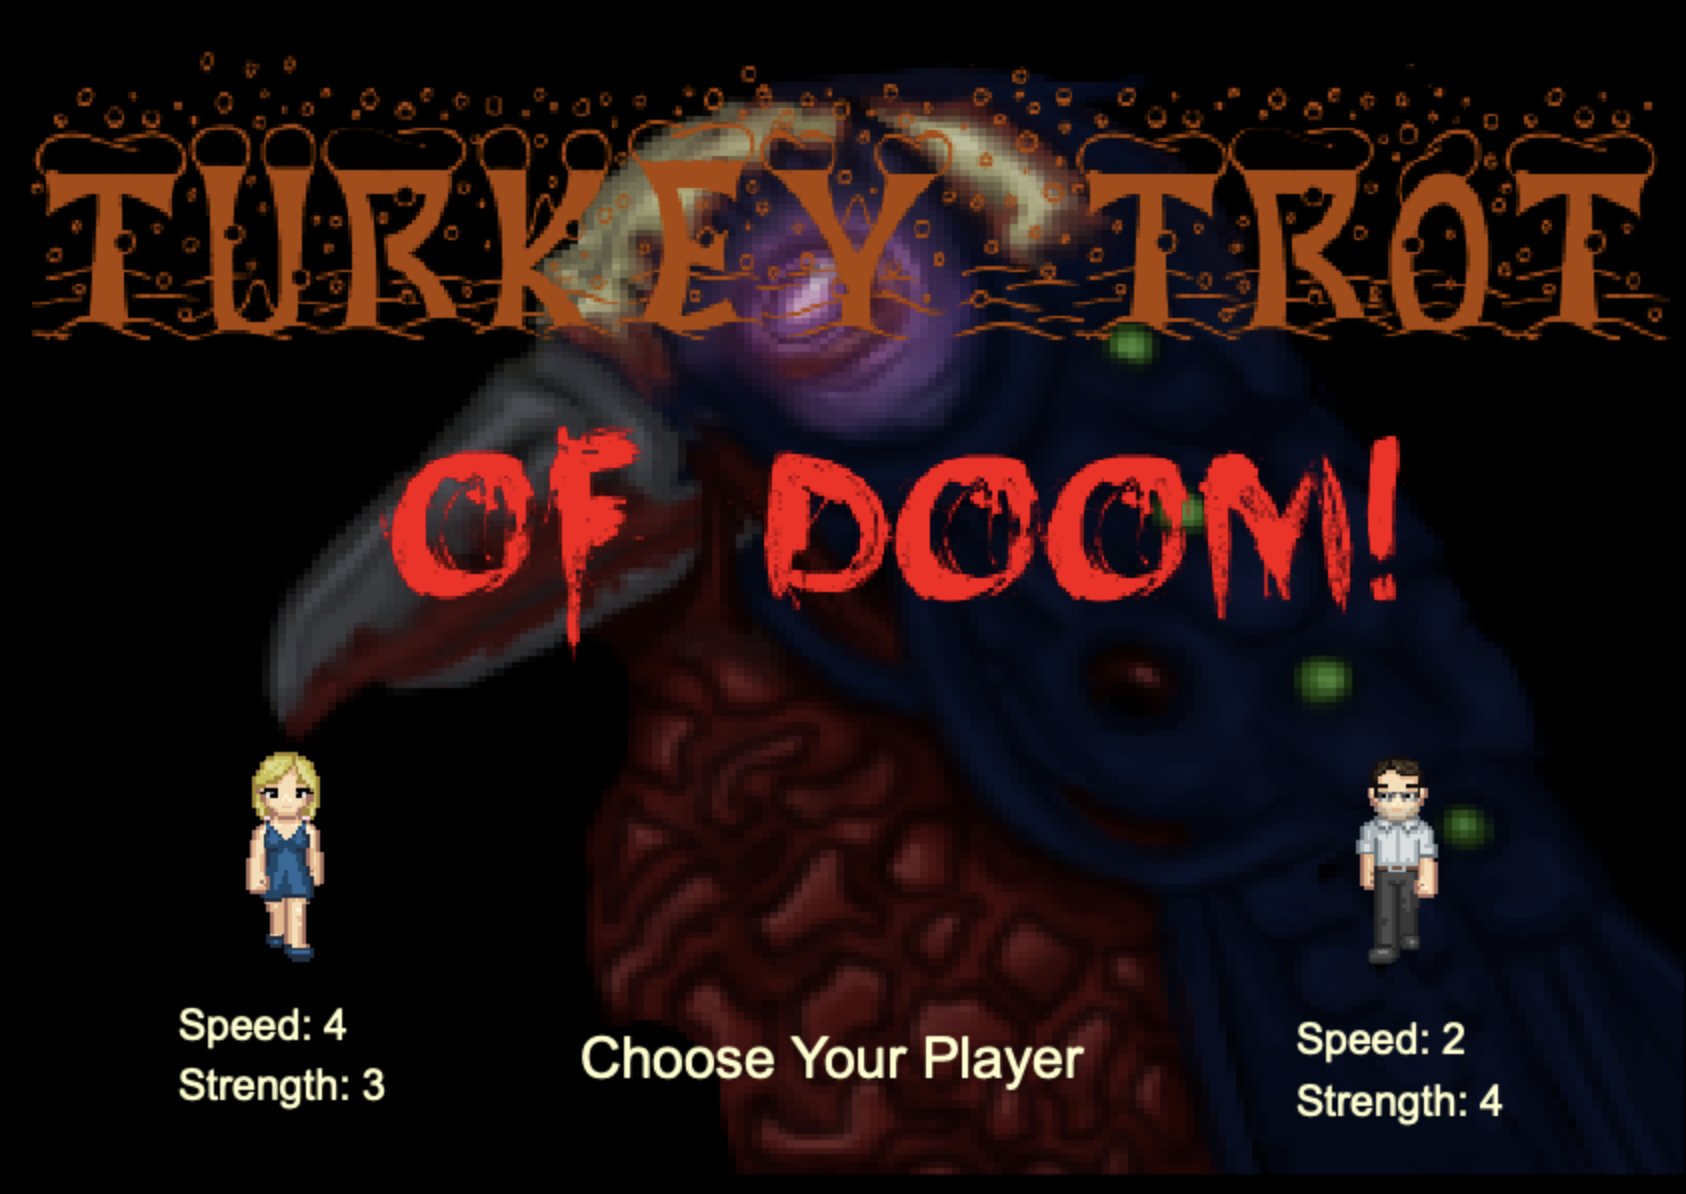
Turkey Trot... OF DOOM! A little game to celebrate turkey day. Game Dev Construct 2 Pixel Art View Live GitHub